
QUICK ANSWER
The first goal with new Bermuda sod is pretty simple: keep it alive long enough to get roots growing into your soil.
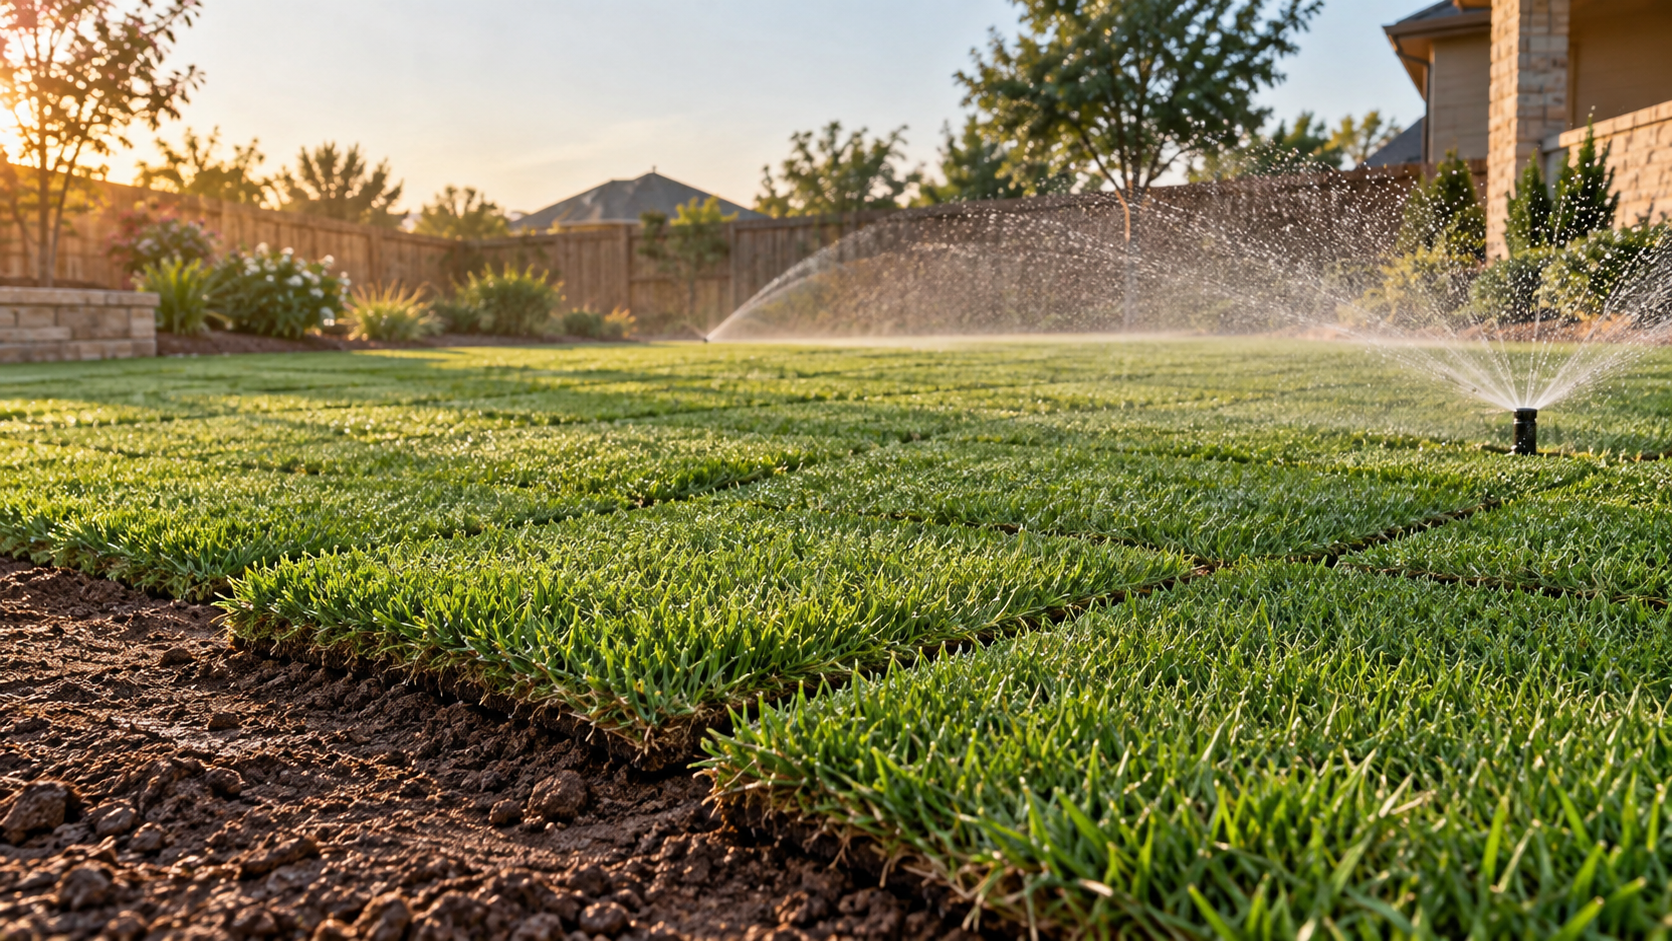
That means good soil preparation, tight sod-to-soil contact, and frequent irrigation at first. Then you start backing the water off as the roots develop. Under good growing conditions, you may start seeing roots peg into the soil within roughly 7–10 days, with substantially better establishment developing over the next few weeks.
I wouldn't use the calendar alone, though.
Start gently lifting a corner after about a week. As the sod becomes increasingly difficult to lift, you know roots are moving into the underlying soil. That's the signal that eventually lets you water less frequently, mow, and transition toward normal Bermuda management.
And as tempting as it is to immediately dump sand or soil into every ugly seam, I'd leave the topdressing alone for now.
Get the grass rooted first.
A successful sod job really starts before the truck arrives
Bermuda can be incredibly aggressive once it's established, but freshly harvested sod doesn't have that established root system anymore.
You're essentially taking a mature piece of turf, cutting away most of its root system, moving it to your yard, and asking it to reconnect with completely different soil.
So the dirt underneath matters.
Before installation, remove rocks, construction debris, weeds, and anything else that prevents the sod from sitting evenly against the soil. Correct major drainage and grading problems now because they're considerably harder to fix after several thousand square feet of Bermuda is sitting on top.
A soil test is also worth doing before installation. It tells you whether phosphorus, potassium, lime, or other amendments are actually needed instead of guessing.
Texas A&M recommends incorporating pre-plant fertilizer according to the soil test into roughly the upper 4–6 inches of soil. Where a soil test shows phosphorus deficiency, a starter-type fertilizer can make sense. That's different from assuming every new lawn automatically needs a high-phosphorus starter fertilizer.
The final grade should be smooth and firm—not fluffy—and the sod pieces should be fitted tightly together in a staggered pattern. Once installed, rolling or tamping the sod improves contact between the sod and underlying soil.
That contact matters because the next thing we're trying to produce is roots.
For the first week, moisture is the priority
This is one of the few times you'll hear me recommend intentionally frequent lawn watering.
Established Bermuda generally benefits from deeper, less frequent irrigation. Fresh sod is different because it doesn't have an established root system capable of reaching moisture several inches down into your soil.
Immediately after installation, thoroughly water the sod and the soil beneath it. Texas A&M recommends wetting the soil beneath newly installed sod to a depth of roughly 2–3 inches. Other Extension recommendations call for keeping the upper several inches moist during establishment.
From there, don't get hung up on a universal sprinkler run time.
Ten minutes on one irrigation system can deliver a completely different amount of water than ten minutes on another.
Your target is the soil.
During approximately the first 7–10 days, keep the sod and underlying soil consistently moist without leaving the lawn saturated. Hot, sunny, windy weather may require multiple short irrigation cycles. Cooler or cloudy weather, heavier soil, and rainfall can dramatically reduce that requirement.
WATCH OUT
More water isn't automatically better. Saturated soil contains less oxygen, and Texas A&M specifically notes that roots don't develop as quickly in saturated, oxygen-deficient soil.
You want moist. You don't want swamp.
Start checking the roots instead of just counting days
Here's where I think homeowners can make this process much easier.
After about a week, find a corner or edge of a sod piece and gently try to lift it.
Don't rip it up. You're just checking resistance.
Early on, the piece will lift almost like it did when you installed it. As new roots begin moving through the bottom of the sod and into the soil, you'll start feeling resistance.
UF/IFAS notes that roots may begin "pegging" down in roughly 7–10 days depending on temperature, season, soil, and other conditions. By around 14–21 days, properly establishing sod may be rooted firmly enough that it cannot be lifted without appreciable force.
Those aren't deadlines.
They're checkpoints.
NUMBERS / COMPARISON
Approximate time
What I'm looking for
Day 0–7
Sod stays consistently moist, edges aren't drying out, and there is good soil contact
Day 7–10
Begin gently checking corners for new root attachment
Day 10–14
Increasing resistance when gently lifting the sod
Day 14–21
Sod should be becoming firmly pegged under favorable growing conditions
Week 3–4
Rooting should support the transition toward more normal mowing and irrigation practices
Temperature matters here. Actively growing Bermuda installed during warm weather can establish much differently than dormant or slowly growing sod.
The grass gets the final vote.
Rooting is what lets you start backing off the water
Frequent irrigation keeps an unrooted piece of sod alive.
It isn't where I want the lawn to stay.
Once you confirm roots are beginning to penetrate the soil, start increasing the interval between irrigation cycles while supplying water farther into the developing root zone.
MY PROCESS
- Water immediately. After installation, thoroughly wet the sod and soil beneath it.
- Maintain moisture. For roughly the first 7–10 days, irrigate frequently enough that the sod and underlying soil don't dry out. In demanding weather, that may require more than one short cycle per day.
- Start checking roots. Around day 7–10, gently lift several corners around the lawn and look for resistance.
- Begin backing off. Once roots have pegged into the soil, start reducing irrigation frequency instead of automatically watering several times every day.
- Encourage deeper rooting. Over approximately the next 7–14 days, continue increasing the time between irrigation events while wetting the developing root zone more deeply.
- Transition toward normal irrigation. Around weeks 3–4, if the sod is firmly rooted, begin watering based on the needs of an established Bermuda lawn rather than the original sod schedule.
UF/IFAS provides a similar progression: frequent short irrigation during initial establishment, then approximately 1/4–1/2 inch daily for the next stage, followed by 2–3 irrigation events per week before transitioning to an as-needed established-lawn schedule.
That's a useful framework—not an excuse to ignore your soil.
If it's still lifting easily, it isn't ready for me to pretend it's an established lawn.
Don't make the first mow another establishment problem
New Bermuda can start looking shaggy pretty quickly, especially if it was already actively growing when harvested.
That doesn't automatically mean it's ready for the mower.
Before the first cut, I want two things.
First, the sod needs to be firmly anchored. Gently tug several pieces in different parts of the lawn. If the mower could slide, wrinkle, or pull those pieces around, I'd wait.
Second, the ground needs to support the mower without rutting.
Texas A&M recommends allowing turf to grow approximately one-third to one-half above the desired mowing height before beginning to mow, while UF/IFAS recommends waiting until the roots have pegged down and the sod no longer lifts when pulled. For sod, that rooting milestone commonly occurs somewhere around 14–21 days under favorable conditions.
Use a sharp blade and avoid mowing saturated turf.
And don't celebrate the first mow by scalping it.
The normal one-third rule still makes sense: avoid removing more than roughly one-third of the leaf blade in a single mowing. If the sod got excessively tall during establishment, work it down gradually over multiple mowings.
PRO TIP
The tug test is more useful than writing "MOW SOD" on day 14 of your calendar.
Check several areas. Edges, shady spots, or poorly watered sections can establish more slowly than the best-looking part of the yard.
Fertilizer can wait until the grass can actually use it
This is an area where I'd resist the urge to throw fertilizer at the lawn simply because it's new.
If possible, handle your major soil fertility corrections before the sod goes down.
Texas A&M recommends using a soil test to determine pre-plant fertilizer requirements and incorporating those nutrients into the upper 4–6 inches of soil. If phosphorus is deficient, that's where a starter-type fertilizer can have a legitimate role.
Once the sod is installed, I'm more interested in roots than forcing top growth.
UF/IFAS recommends waiting at least 30 days after sodding before fertilizing and notes that 30–60 days allows the root system to become better established. Sod is also commonly fertilized before harvest, so an immediate nitrogen application isn't necessarily accomplishing what homeowners assume it is.
Once the lawn is firmly rooted and actively growing, transition into a normal Bermuda fertility program based on your soil test, location, cultivar, and desired level of maintenance.
For Texas Bermuda lawns, Texas A&M generally recommends individual maintenance applications in the range of 0.5–1.0 pound of actual nitrogen per 1,000 square feet during active growth.
NUMBERS / COMPARISON
If your target is 0.50 lb of actual nitrogen per 1,000 sq. ft. and you're using 46-0-0 urea:
0.50 ÷ 0.46 = 1.09 lb of urea per 1,000 sq. ft.
That's the kind of calculation I want to make once the lawn is ready for fertilizer—not simply dumping a bag labeled "starter" onto fresh sod because the word sounds appropriate.
Leave the sand and soil alone until the Bermuda is ready for it
This might be the hardest part for somebody who likes a perfectly level Bermuda lawn.
Fresh sod is rarely perfect.
You'll see seams. One piece will sit a little higher than another. There may be small depressions. And if you're already thinking about eventually reel mowing the lawn, every one of those imperfections starts staring back at you.
The temptation is to immediately cover everything with sand or topsoil.
I'd wait.
During establishment, the job of those leaves is to capture sunlight and produce the carbohydrates that support new shoots and roots. The sod is simultaneously dealing with transplant stress and trying to establish a root system.
There's no reason for me to immediately give it another problem by burying the canopy.
Clemson recommends beginning topdressing after sod has established a good root system. When you eventually do topdress, do it while the Bermuda is actively growing and able to recover.
Apply material lightly and evenly, then work it down between the leaves instead of leaving piles sitting on top of the canopy. Extension recommendations for established turf commonly describe light applications around 1/4 inch; the goal is for the leaf tips to remain exposed and capable of growing through the material.
Material matters too. Sand isn't automatically the correct choice for every soil. Clemson recommends matching topdressing material appropriately to the existing soil and cautions against simply adding sand to nonsandy native soils.
WATCH OUT
Don't use topdressing to hide a major grading problem. A light application can smooth minor imperfections once the Bermuda is established, but burying low areas under inches of material is a different project entirely.
So yes, we'll level the Bermuda.
Just let it become a lawn first.
The calendar is useful, but the grass makes the decision
New Bermuda sod establishes surprisingly quickly when it's installed during active growth with good soil contact, warmth, sunlight, and proper moisture.
But I wouldn't manage it by dates alone.
KEY TAKEAWAYS
- Prepare first. Grade and prepare the soil before installation, and use a soil test to determine whether pre-plant nutrients or pH adjustments are actually needed.
- Keep fresh sod moist. Water immediately after installation and maintain moisture through the initial rooting period without keeping the soil saturated.
- Start checking roots around day 7–10. Increasing resistance when you gently lift a corner tells you more than the calendar alone.
- Reduce watering as roots develop. Under favorable conditions, the lawn may begin transitioning toward normal irrigation around weeks 3–4.
- Earn the first mow. Wait until the sod is firmly anchored and the soil can support the mower without pieces moving or tires creating ruts.
- Don't rush fertilizer or topdressing. Get the Bermuda rooted first, then transition gradually into the fertility, mowing, irrigation, and leveling program you actually want long term.
A pallet of green Bermuda gives you an instant-looking lawn.
Roots are what turn it into your lawn.